
I use a lot of texture in my ceramics work. I want my items to be totally original, so I make my own carved bisque-ware stamps to create unique, patterned areas in the clay where the glazes can rise and fall in the nooks and crannies.
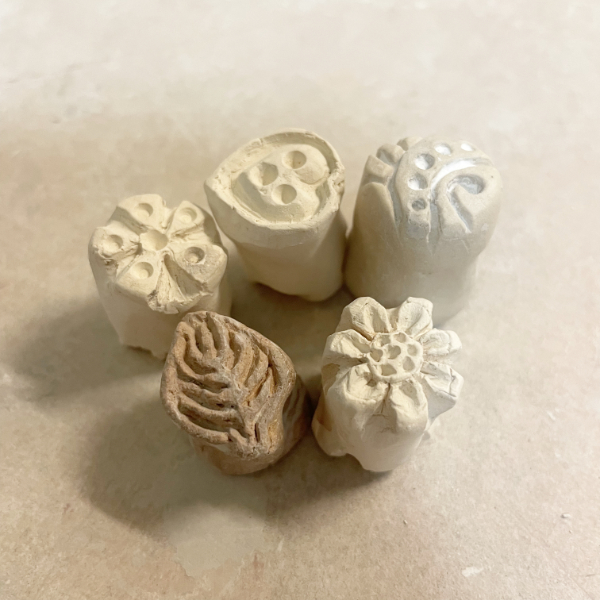
I have been making my stamps for years, so I have a large collection. Hmmm, maybe hundreds! They are perfect for my pendants, bracelet bars, and ceramic charms. I have some unusual cookie cutters which I use to create the shape for most of my beads. I often create special bisque stamps to work perfectly with those cutters. Other stamps are just made in round, oval, or organic shapes to be used on anything. I like to use the stamps to decorate my succulent planters and decorative wall pockets as well.
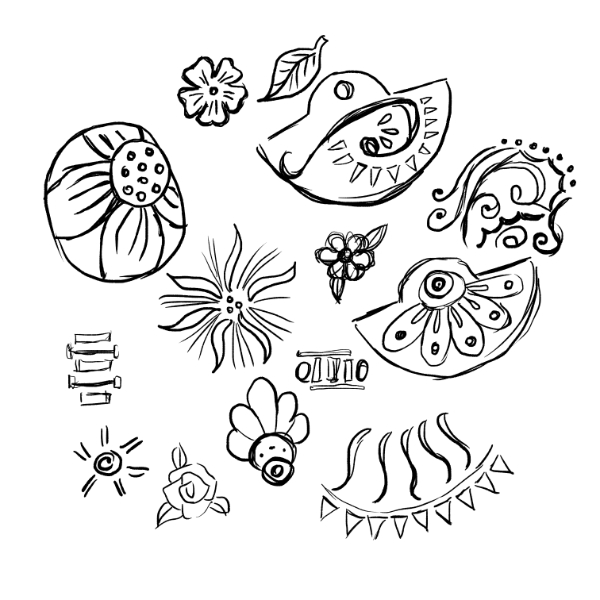
I start with a sketch or two of ideas for the direction I want to go visually. I have to be flexible because the clay is not as precise as my drawings can be.
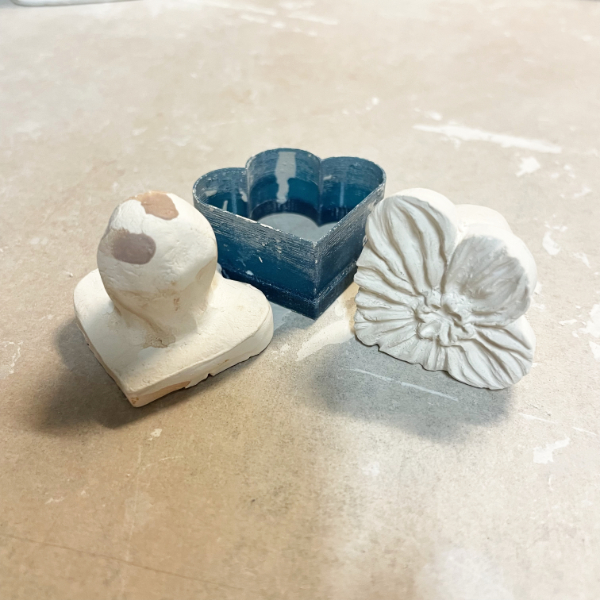
I roll a soft ball of clay out at about 3/8-inch thickness and create the shape and size I’m looking for. For smaller stamps, I use a smaller thickness or I create them from a small cylinder of clay. I freehand sketch the drawing onto the clay with my needle tool. Then I deepen the grooves, soften edges, and work in detail with dental tools, loop tools, and moist paint brushes. Once the design is satisfactory, I roll another small ball of clay into a handle and score and slip the decorated piece and the handle and work them into a complete unit. They really do need handles. I find it hard to use flat stamps that have no handle. It gets a little tough on my hands. I also have some stamps that I made double-ended. Meaning I have a stamp pattern carved into each side of the stamp.
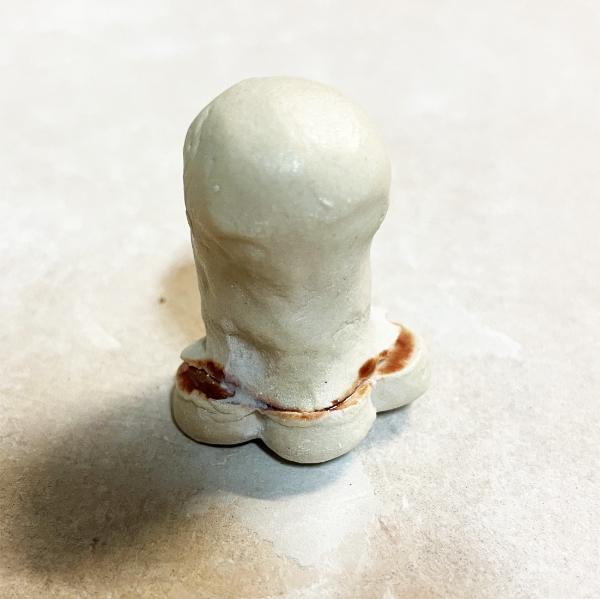
I admit I have had handles break off after the bisque fire, so I “glue” them back together with a tiny bit of glaze and place them back in the kiln for the next bisque fire.
I love working with my own stamps! Sometimes I use a bit of talcum powder to keep the stamp from sticking to very wet clay, especially if the stamp has a lot of tiny detail areas. The powder can either be softly brushed onto the clay or I have a shallow tray where I keep some powder and just dip the stamp into it, then tamp it on my work table to free the stamp of any excess talcum powder.

Hope you are inspired to create some of your own stamps if you work in ceramics. I would love to see what you make with them! Stop by my Etsy Shop to see my finished projects.
Debbie

3 thoughts on “Making Texture Stamps for Ceramics”